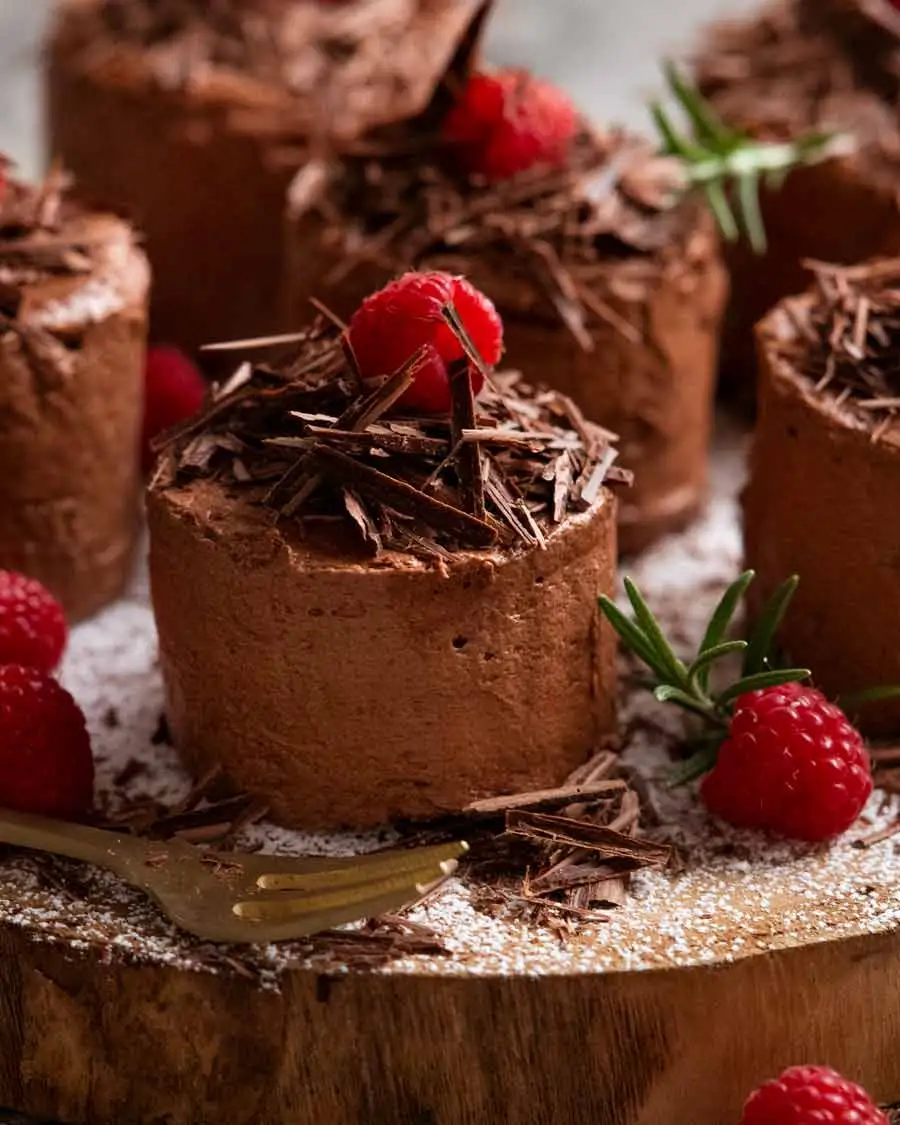
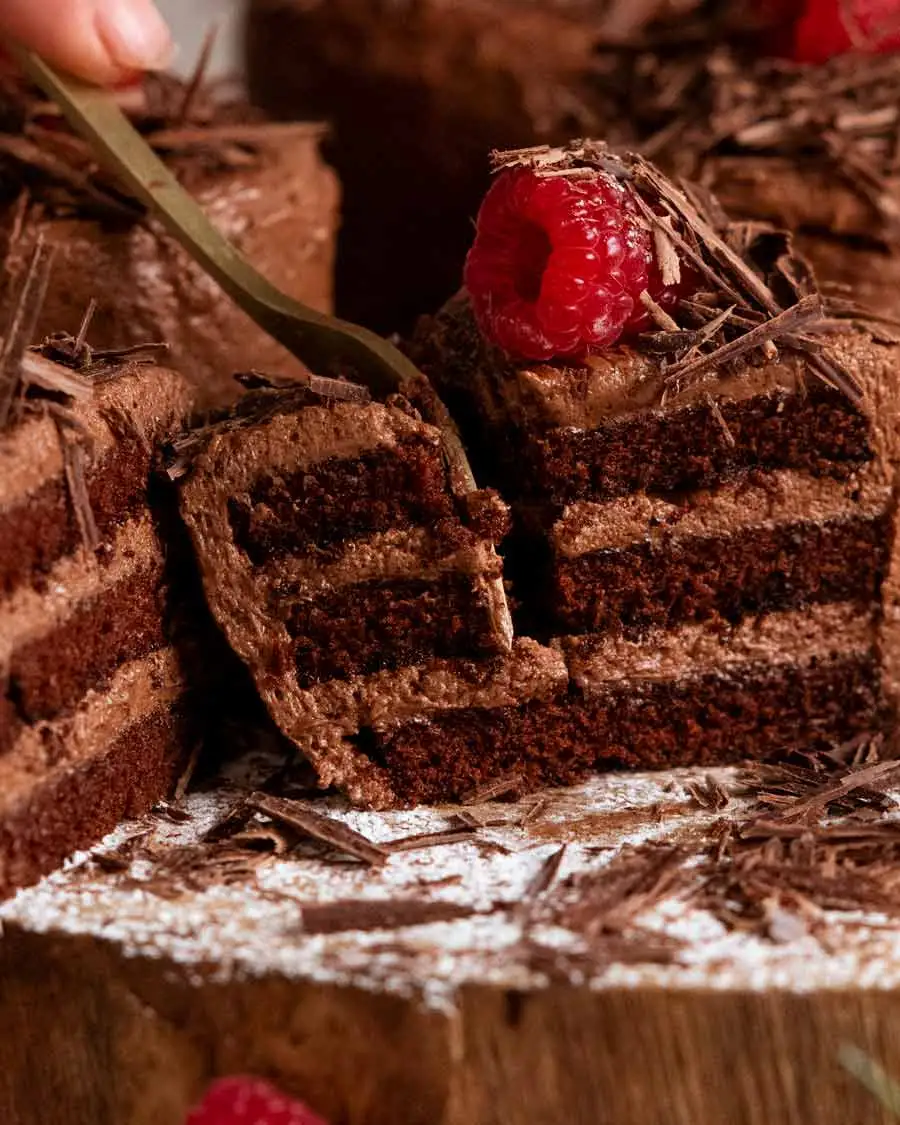
We make mini chocolate cakes because they’re adorable, there’s an excellent ratio of frosting to cake, and you get the whole thing to yourself! With 3 layers of chocolate cake smothered in fluffy chocolate buttercream frosting, these are the perfect special occasion dessert.

I know, you’re already visualising the look on everybody’s face when you walk into the room with a platter of these mini cakes.
Surprise. Delight.
And of course, so, so impressed. So if the eat part isn’t enough to spur you on to make these, do it for the praise! People will be talking about your mini cakes for days to come. Weeks! Month! (I really need to grow up. Who encourages people to bake things just for the praise? 😂).
Mini chocolate cakes
Prep: 45 minutes ; Servings 7 mini cakes
Recipe video above. We make mini chocolate cakes because they’re adorable, there’s an excellent ratio of frosting to cake, and you get the whole thing to yourself! With 3 layers of chocolate cake smothered in fluffy chocolate buttercream frosting, these are the perfect special occasion dessert.
No round cutter? Make square or rectangle layer cakes instead!
Makes 7 x 3 layer cakes that are 7cm / 2.8” wide.
Ingredients
- ▢ 1 cup plain flour / all-purpose flour
- ▢ 1/3 cup cocoa , sifted (unsweetened, not dutch processed – Note 1)
- ▢ 3/4 tsp baking powder
- ▢ 3/4 tsp baking soda / bi-carb (Note 2)
- ▢ 1 cup white sugar
- ▢ 1/2 tsp cooking salt / kosher salt
- ▢ 1 large egg , at room temperature
- ▢ 1/2 cup milk , preferably full fat, at room temperature
- ▢ 1/4 cup plain oil , like vegetable, canola, peanut oil
- ▢ 1 tsp vanilla extract
- ▢ 1/2 cup boiling water
- ▢ 1 tsp instant coffee powder , option (Note 3)
CHOCOLATE BUTTERCREAM
- ▢ 250g / 1 cup unsalted butter , softened
- ▢ 4 cups soft icing sugar / powdered sugar , sifted
- ▢ 1/2 cup cocoa powder , unsweetened
- ▢ 1 tsp vanilla extract
- ▢ 5 tbsp milk , preferably full fat
DECORATIONS
- ▢ Dark chocolate , finely shaved using a knife (white chocolate is also pretty)
- ▢ Raspberries, rosemary sprigs
Instructions
- Preheat oven to 180°C / 350°F (160°C fan-forced).
- Baking pan – Butter a 40 x 28.5 x 2.5cm cm tray (15.8 x 11.3 x 1″ – US standard jelly roll pan) then line with baking paper (parchment paper).
CAKE LAYERS
- Whisk dry – Sift the flour, cocoa, baking powder and baking soda into a bowl. Add the sugar and salt, then whisk to combine.
- Mix in wet – Add the egg, milk, oil and vanilla. Whisk to combine. Dissolve the coffee in the hot water, then add into the batter. Whisk to combine. The batter will be VERY thin!
- Bake – Pour into the pan and bake for 13 minutes.
- Cool for 10 minutes then use the paper overhang to lift the cake onto a rack and cool for 30 minutes (leave it on the paper). Then refrigerate uncovered for at least 1 hour before cutting rounds (cake is too soft when freshly baked).
ASSEMBLING & FROSTING:
- Cutting rounds – Cover the sticky surface with paper. Then flip upside down onto a cutting board (ie sticky side down). (Note 4) Peel the paper off the base. Then press out 21 x 6cm / 2.4″ rounds (or other size or shape as you desire).
- Pipe frosting – Place a piece of cake on a small piece of paper, using a dab of frosting to stop it from sliding. Pipe coils of frosting on the layers, using 3 rounds for each cake. Pipe frosting around the sides and on the top. (A cake turntable is handy if you’ve got one but not essential.)
- Smooth frosting – Smooth the frosting using a small offset spatula or knife, taking care to only touch the surface. Avoid touching the cake because it will dislodge crumbs that will end up in your frosting!
- Decorate with piles of chocolate shards. I also used raspberries and rosemary for the photos in the post!
CHOCOLATE BUTTERCREAM:
- Beat butter for 3 minutes on high until soft and fluffy. Add icing sugar in 3 lots. Beat it in, starting on low speed then increasing the speed (to avoid a snow storm). Once incorporated, add more icing sugar and repeat.
- Beat 3 minutes – Once the icing sugar has all been added, added the cocoa powder, milk and vanilla. Beat again, starting on low speed then increasing the speed gradually. Once the cocoa is incorporated, beat on high for 3 minutes to make it really nice and fluffy.
- Piping bags – Transfer to a piping bag for frosting. (This is the fastest and easiest way, trust me on this. Even a ziplock bag will work here).
Recipe Notes:
- Cocoa – This recipe calls for ordinary unsweetened cocoa powder, though the pricier dutch processed cocoa powder (which has more intense chocolate colour and flavour) can be used.
- Baking soda – Can be substituted with 2 1/4 tsp extra baking powder (baking soda is an insurance policy to ensure even rise).
- Coffee in chocolate is a common practice these days to enhance the chocolate flavour. You can’t taste it. Optional!
- Flipping upside down is important to help cut out neat rounds because the surface of the cake is sticky so it sticks to the cutter and you end up with rather untidy circles.
- Square or rectangle mini cakes – Easier to assemble and no cake scraps! Cut the cake into 3 equal rectangles. Frosting the layers to make one large 3 layer cake. Refrigerate for 1 hour to set the frosting (so it cuts neatly). Then cut into square or rectangles. Frost sides as desired (whip frosting again to re-fluff).
- Storage: If leaving cooked cakes overnight, make sure it’s 100% cool then cover the top with paper (it’s sticky) then cling wrap. Refrigerate until required – you can actually do this 5 days ahead because the cake stays fresh for 5 days. Or freeze for 3 months.
Assembled cakes will stay fresh in the fridge for 5 days – the cake sponge has excellent shelf life!
